29.2.20

Cut Paper Art from recycled magazines

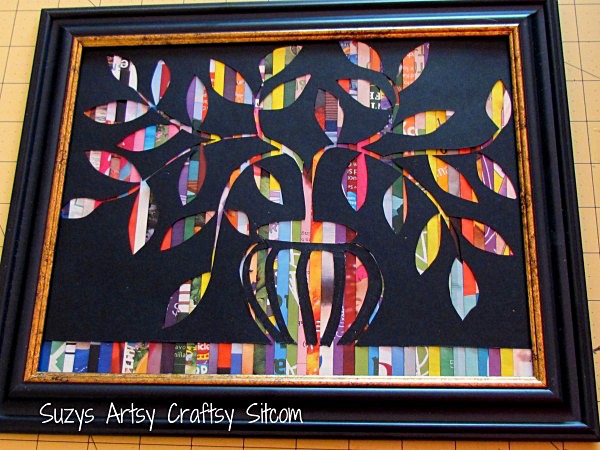
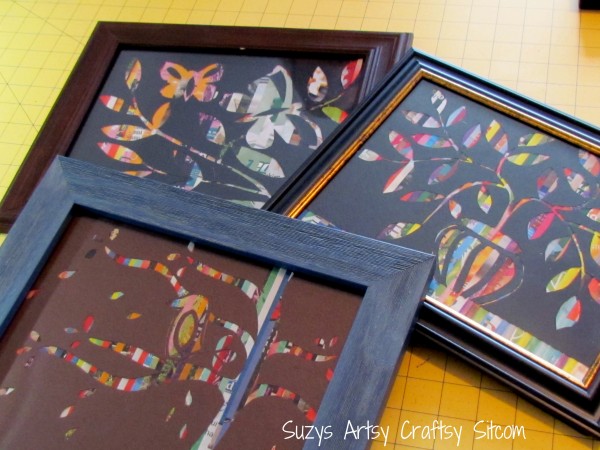
Another way to recycle magazines and create beautiful artwork at the same time, this cut paper art is not only colorful, but very easy to make!  So gather up your old magazines and I’ll show you how to make this recycled craft!
recycled magazine craft cut paper art

For this project we used:

Old magazines
8″ x 10″  picture frames
black and brown construction paper
glue sticks
craft blade
cutting mat
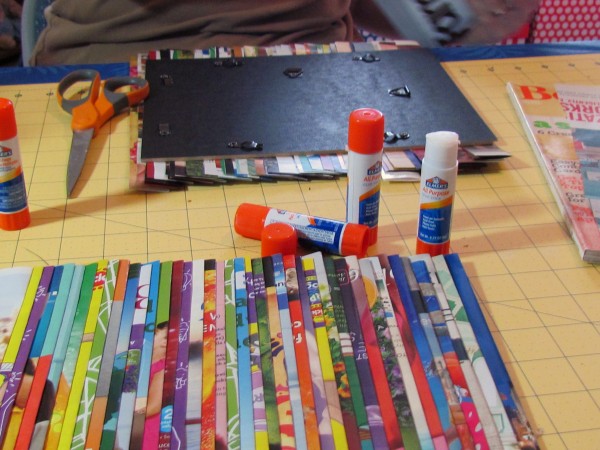
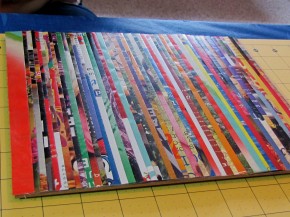
Take the frame apart.  You will be working with just the cardboard back of the frame.  Cut strips of colorful magazine pages, folding them lengthwise and glueing them down with your glue stick.  Glue them down with the folded edges approximately 1/4″ apart.
recycled magazine craft cut paper art
Try to use bright colored pages for the best contrast with your dark construction paper.
recycled magazine craft cut paper artrecycled magazine craft cut paper art

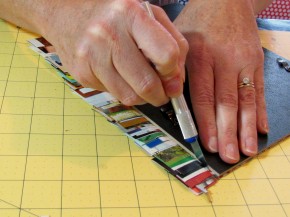
Use the craft knife to trim the edges of all the paper to match the edges of the picture frame back.
recycled magazine craft cut paper art
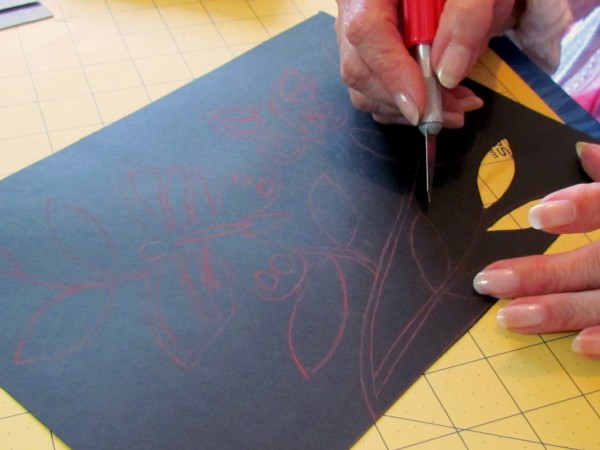
rim your construction paper to match the size of your picture.  Then trim an addition inch off of the bottom so that the finished art will show all the colored strips along the bottom.  Draw your pattern onto the paper, and then use a craft knife to cut out your picture.
If you would like the patterns, you can download the full size pdf versions of the potted plant and the butterflies here.
recycled magazine craft cut paper art
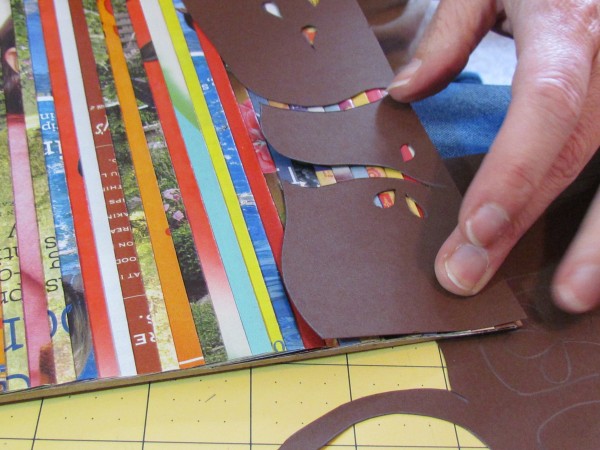
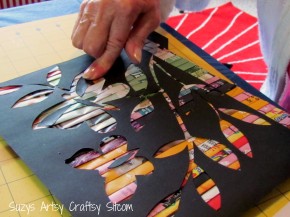
Depending on how you are cutting it out, you might have to glue your construction paper down in sections.
recycled magazine craft cut paper artrecycled magazine craft cut paper art
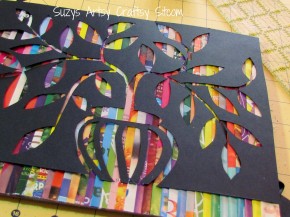
The final step is to put your frame back together!
recycled magazine craft cut paper art
This project was a ton of fun and only took us a few hours!


27.2.20

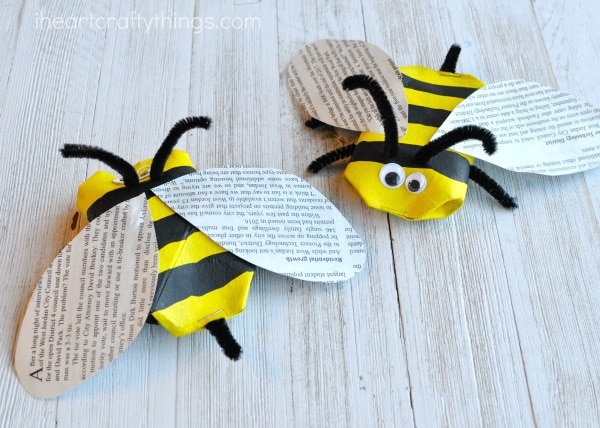
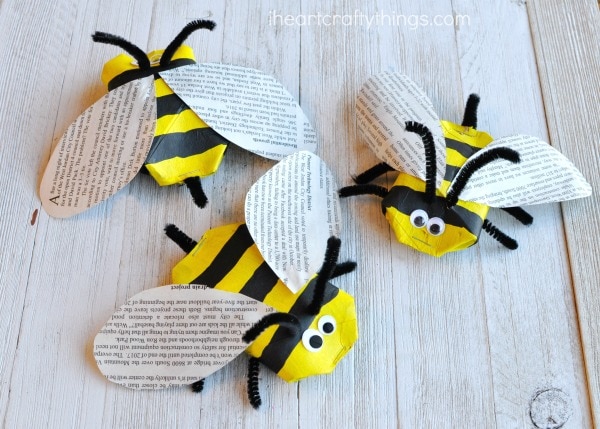
How to make a recycled bee craft

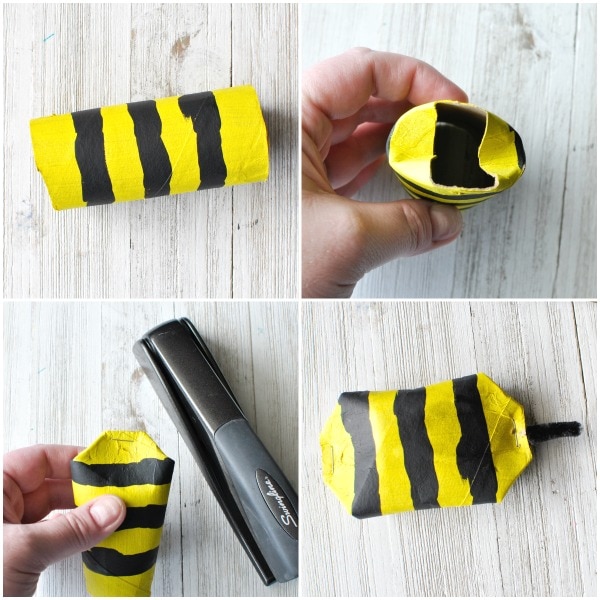
1. Begin by painting the outside of your cardboard toilet roll yellow. After it is dry, paint a few black stripes around your toilet roll. Set that aside to dry completely.
2. To make your bee body, fold down two sides on the end of the toilet roll, then press the other two sides together. Staple the end shut. (See pictures above for more details.) On the opposite end, follow the same process but add a piece of black pipe cleaner inside the toilet roll before stapling it shut. This is your bee stinger.
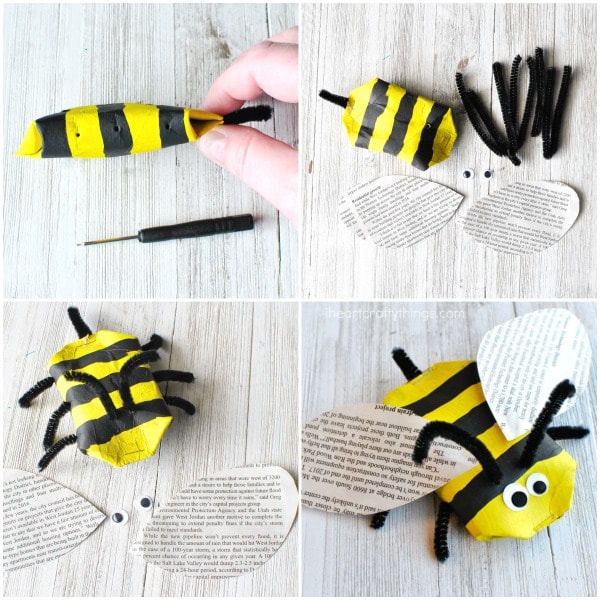
3. Use a small pointy screwdriver or something similar to poke three holes on each side of your bee for the legs. Then poke two holes on the top of the bee body near the front of the face. These are for the bee antennae.
4. Cut two black pipe cleaners into quarters so you have 8 pieces. Poke six of them through all the holes on the sides of the toilet roll, leaving a small section out of the roll and bend downward to form bee legs. Then poke two more down inside the holes on the top for antennae.
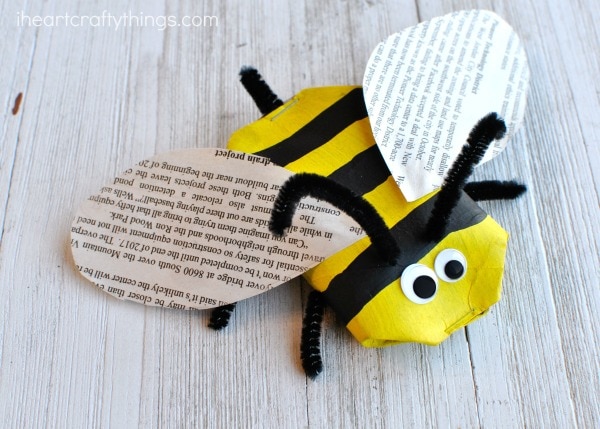
5. Cut bee wings out of your newspaper. Then finish your awesome recycled bee craft by gluing the newspaper bee wings and the googly eyes on your toilet roll.

26.2.20

Paper Reed Frames


For this project we used:

Several old magazines
Wooden skewers
Glue sticks
Mod Podge
Unfinished Wooden Frame
craft paper reed frames from recycled magazines2

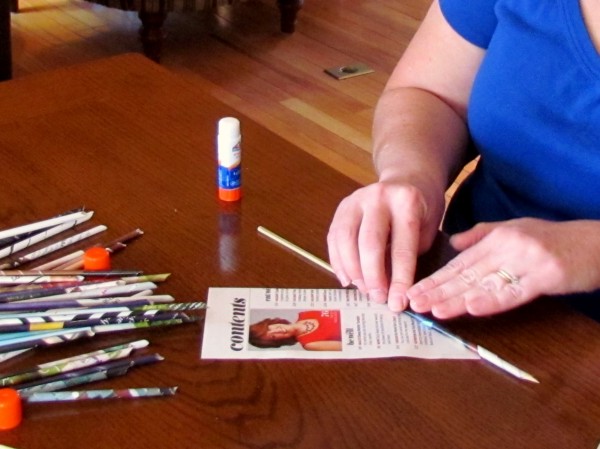
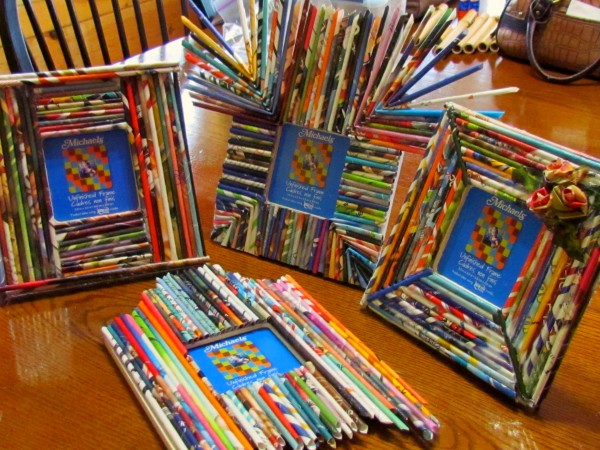
The process to make the reeds is simple.  Cut the magazine page in half vertically.  Then take your wooden skewer and starting from the bottom corner at a slight angle, roll the paper to the opposite corner.  About half way, you may need to adjust your skewer so that you don’t roll off one end of it.  Once you get it completely rolled, use your glue stick to tack it to stay.  Then slide out the skewer.   
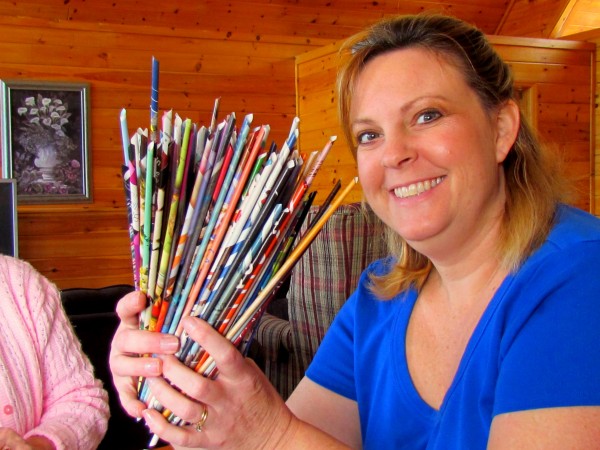
Then start making piles of them.  They are actually quite addicting!
craft paper reed frames from recycled magazines5
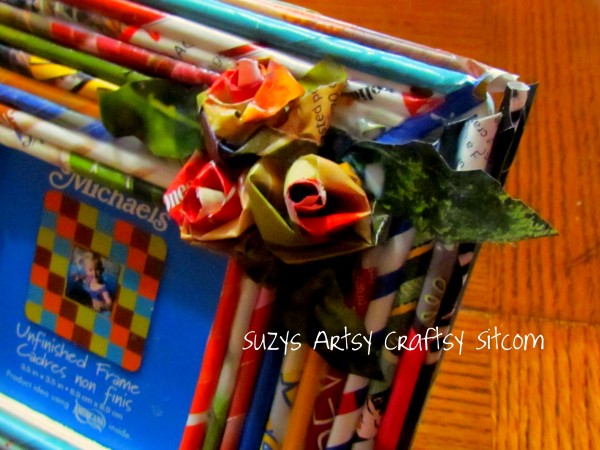
The next step was to glue our reeds onto our frames, cutting them and creating our own individual designs.  
craft paper reed frames from recycled magazines10
Because what would life be without a little colour?
craft paper reed frames from recycled magazines11

25.2.20

CD Weaving Tutorial

CD Weaving Tutorial


Here's what you'll need:(Old CDs, scrap yarn, scissors, and if you want to make the flexible needles, plastic lids, and a hole punch.)

To make the needles, cut the rim off the lid. Cut the remaining flat circle of plastic into pie shaped pieces, then round the top edge. Punch a hole in the rounded end to make the eye of the needle. Trim if needed. (You can use regular yarn needles, but I really like the flexible needle better- it's easy for the kids to thread, and I could have lots of them available at no cost. Some weavers preferred to not use a needle at all.) Update: I  rounded the pointed end so it would be less likely to split the yarn.

For this tutorial I've covered the CD with paper. (Just to avoid the reflection problem in the photos.)

To Warp the CD: A smooth yarn works best, and I used a thicker yarn for younger weavers. The warp yarn is between 4 and 6 feet long. Tie it to the CD by putting one end through the center hole and knotting it to itself on the back. Turn the CD over to the front, pulling the thread through the center and wrapping around the CD, creating the spokes. update: Make sure the warp threads are pretty tight!)

(You can prepare the CD looms in advance if you like. I had most of my classes make their own, but it does cut into weaving time. I had to teach many of them how to tie a knot.
 But I did love having the kids know how to do the project from start to finish, and then many of them were able to make lots more of these at home!)

It's IMPORTANT to have the warp threads be an UNEVEN number. It's easy to check this by pushing the spokes together in pairs, making sure your last one is a SINGLE...


The total number of warp threads can vary, as long as it's an uneven number. The fewer spokes, the faster it is to weave, but the looser the weaving will be, especially out near the edge. (I think it works well to have 13 or 15 for the younger kids, but some of my older students used a finer yarn or string and had as many as 25 or 27 warp threads. )


To keep the warp threads an uneven number without counting: As you put the threads on, keep them in pairs. Then add one more as a single. Knot the last thread on the back of the CD by tying it to the first thread. Then spread out the warp threads evenly on the front.
Now you're ready to weave!


Choose your first yarn. It will be the center of your weaving. Attach it on the back of the CD by tying it to one of the warp spokes.


Knot the other end to the needle. Push the needle up through the center hole to the front side. Weave over under, over under. When you get near the end of your yarn, attach another yarn. I taught the kids how to tie a square knot. (I spent a lot of time helping kids get the knot tying thing figured out!!)

I hold the CD in my hand as I weave, weaving in a counter clock-wise direction. (I'm right-handed...) I push the needle under a warp spoke and then off the edge, repeating over/under for a few spokes before before pulling the yarn all the way through and then down and tight.

When you add a new yarn, leave the tail long enough to tuck in after you've done a few more stitches so you can see where the knot needs to tuck in. If the tails are too short, they are harder to tuck in.


You can use a variety of yarns, including textured and fluffy yarns. But they are more challenging to work with. I encouraged younger weaver to use smoother yarns, at least until the got the hang of it. When you get to the last round, end by tying the yarn to one of the warp spokes and tucking in the end.

I loved having a huge variety for them to choose from! I purchased many of the yarns from a thrift store (Value Village).

http://makeitawonderfullife.blogspot.com/2011/11/cd-weaving-tutorial.html

24.2.20

DIY jewelry from paper clips and tape

Supplies: paperclips, colored masking tape or electrical tape, and (optional) jewelry clasps.


Just wrap a piece of tape around each paperclip, connecting them in a chain.


Add optional jump rings and a lobster clasp (cheap supplies from a craft or bead store) if the necklace won't fit over your head.


This one has strands of varied lengths.


Geometric designs are popular right now, too. First lay out a paperclip pattern to plan your design. Pick up the first clip and wrap it with tape, then pick up the next, hook it on and wrap it with tape. One at a time, attach a paperclip and wrap with tape, adding rows as you go.

http://howaboutorange.blogspot.com/2013/03/diy-jewelry-from-paperclips-and-tape.html